
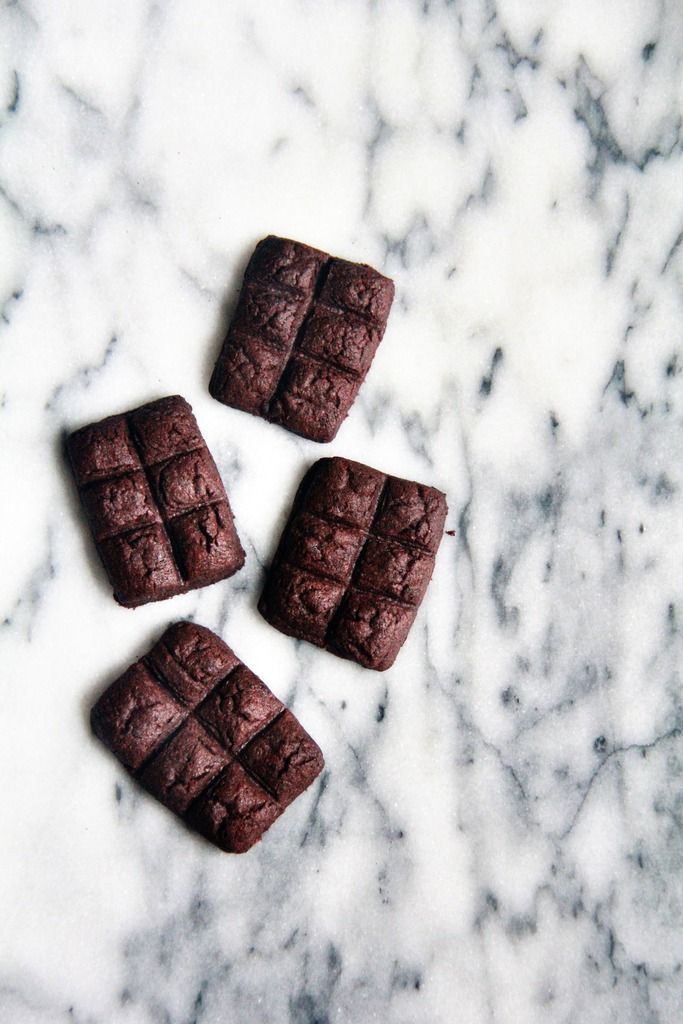
Your perception of chocolate cookies will probably never be the same again.

I got the idea from Youtube channel Mosogourmet again. (That channel is just so full of innovative ideas!) She used a mold that is designed to give the pressed in cookie dough the characteristic uniform bumps of a chocolate bar but I didn't have any - and didn't want to wait for it to be shipped over - so I came up with a method that doesn't require any specialised tools. If you would rather save yourself a bit of trouble though, the molds can be obtained pretty cheaply online.

Basically, for my method, you cut out two small rectangles of dough. Then you take six mini chocolate chips (flat side down), arrange them in a 2 by 3 format on one of the pieces of dough and cover with the other, sealing the edges. Next you will need to use the length of a toothpick to press down gently on the areas where directly below are the gaps between the chocolate chips. Try to make the indentation as deep as you can without cutting all the way through.

My way of making the cookies is pretty time consuming since you have tons more to do that just grabbing a ball of dough and cramming it into a cavity that guarantees you identical cookies almost all the time. But if you like your cookies more 3D and enjoy the pleasant surprise of molten chocolate when you break off a square - yes! like a real chocolate bar! - and bite into one, then I encourage you to give my method a try.
FYI this technique was used on the dark chocolate cookies. The white chocolate ones were my first attempt where I used flat sheets of chocolate instead of chocolate chips. In essence, the white chocolate cookies were a flop but I included pictures of them here anyway because I wanted to show y'all the adorable packaging idea!
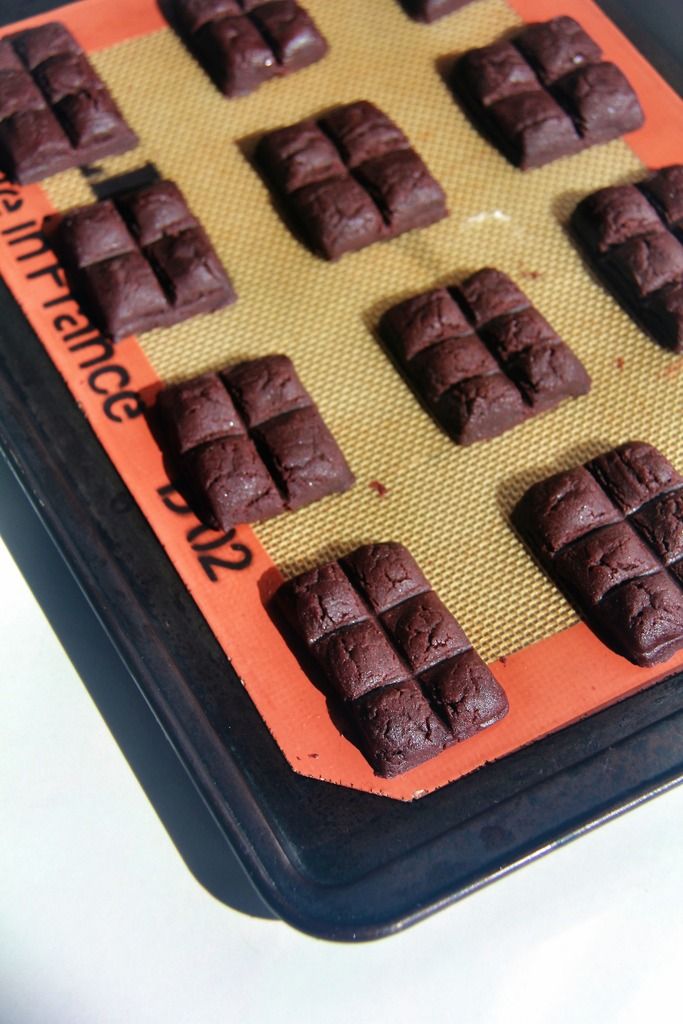 |
| before baking |
For these cookies, it is imperative that you use a cookie dough recipe which makes cookies that doesn't/hardly expand at all when baked. In my books, it means this recipe. Chilling the dough at various stages also helps to prevent expanding and potentially ruining the pattern you have carefully and painstakingly created. There are three times in total - the first after mixing the dough and flattening it out, the second after cutting the dough into rectangles (if you are making a small batch you may be able to skip this round of chilling) and the third after forming all your chocolate bars.

Lastly, I baked my cookies at 350F for 10 minutes or so but you should monitor your cookies and retrieve them when the edges are barely browned.
I think these cookies are a pretty versatile idea that really allows you to put your own stamp on a recipe. You can change up the cookie dough, chocolate chips, packaging etc - the possibilities are endless! I hope you have fun exercising your creativity with these!

These cookies look absolutely adorable!
ReplyDeleteThese are so cute! What an amazing idea. I own more than enough novelty bakeware already so I would definitely try your method out :)
ReplyDeleteHannah
www.hannahbakesthings.co.uk